I actually got it finished with 16 hours to spare! LOL
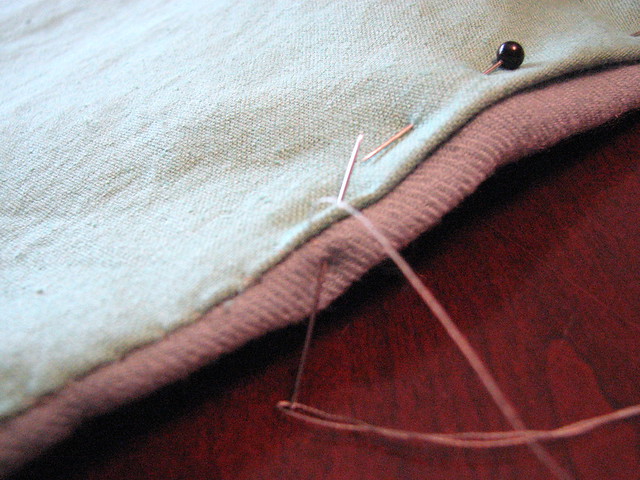
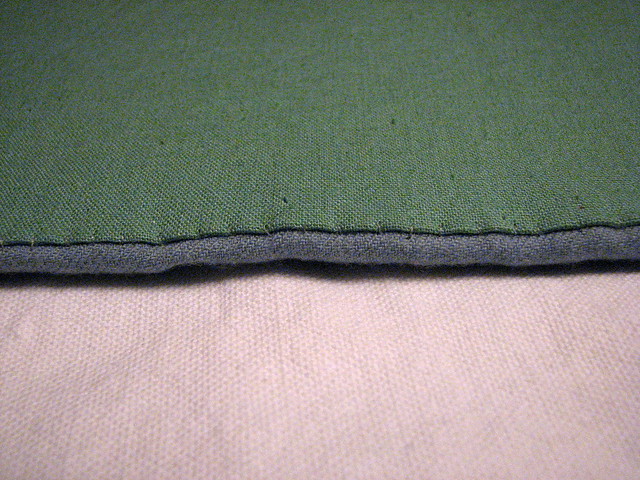
I got up Friday morning and started working on the hem. I adjusted the dress form so that her waist-to-floor measurment was the same as mine then pinned the hem so it was about an inch off the floor in the front making it easy for me to walk with my hands full or dance without stepping on the hem and just skimming the floor in the back so I didn't have to worry about someone stepping on a train. I had over-estimated the length when I cut the skirt panels to I had several inches of fabric turned under for the hem. Rather than cutting it off I cheated a little- instead of using a separate strip of fabric to face the hem, I turned the hem back on itself to expose about a 1/4" edge then inserted a strip of wool felt about 1 1/2" wide and stitched the hem into place and finished by snipping into the exposed edge about every 1/4" or so.

Outside:

Inside:

Since did the snipped edging at the hem I decided to go back, pick the lining loose, and add it to the neckline as well as adding it to the sleeves. I cut bias strips and sandwiched them between the outer and lining fabrics, stitched in place with a tiny running stitch, then snipped/clipped the edging. I am so glad that I took the time to do that because I really like the effect!

Since I knew that I wasn't even going to attempt to get stitched lacing eyelets done before Saturday, I went ahead and whip-stitched the right side-back opening closed. Then, to fake a laced look, I threaded a large eye needle with ribbon and sewed it over the seam using plier to pull the needle through all of the layers of fabric. I had stitched brass rings inside the edge of the left side opening for lacing but didn't like the way it pulled and exposed the lining. Since sewing the ribbon worked so well on the right side, I went ahead and sewed a lacing ribbon throught the fabric on the left. I did put the stitching through the brass rings just incase it was too much strain on the fabric. It worked like a charm! One of these days I will do the stitched eyelets but I'm in no hurry. ;)

The photos that I asked a friend to take at Val Day of me in my dress didn't turn out so I had to resort to mirror shots after I got home. The dress held up really well with just a tiny bit of creasing at the waist. Oh, I forgot to mention that I didn't need to wear my corset! And, yes, I do have blue hair.